
 Home
 User Guide
 Developers
 Payment Gateways
 Integrations & Tools
 Site Usage
 Troubleshooting
Select the source and transfer direction
Software Type Select the supported source from the list. Fill out the host, port, user, password and database name in the transfer from the database. Prepare the file that your chosen method in file transfer supports. The source link is the information of the old installation to be received by the data. Check that your right source is accessible to your choice and connection.Start Transfer
After completing the information Start Transaction Use the button. Check the results notification and the transferred records. Selecting files or filling the form does not start self-explosive.Supported resources and detailed steps
Supported web software
Supported web software
Enter LeaderOS source
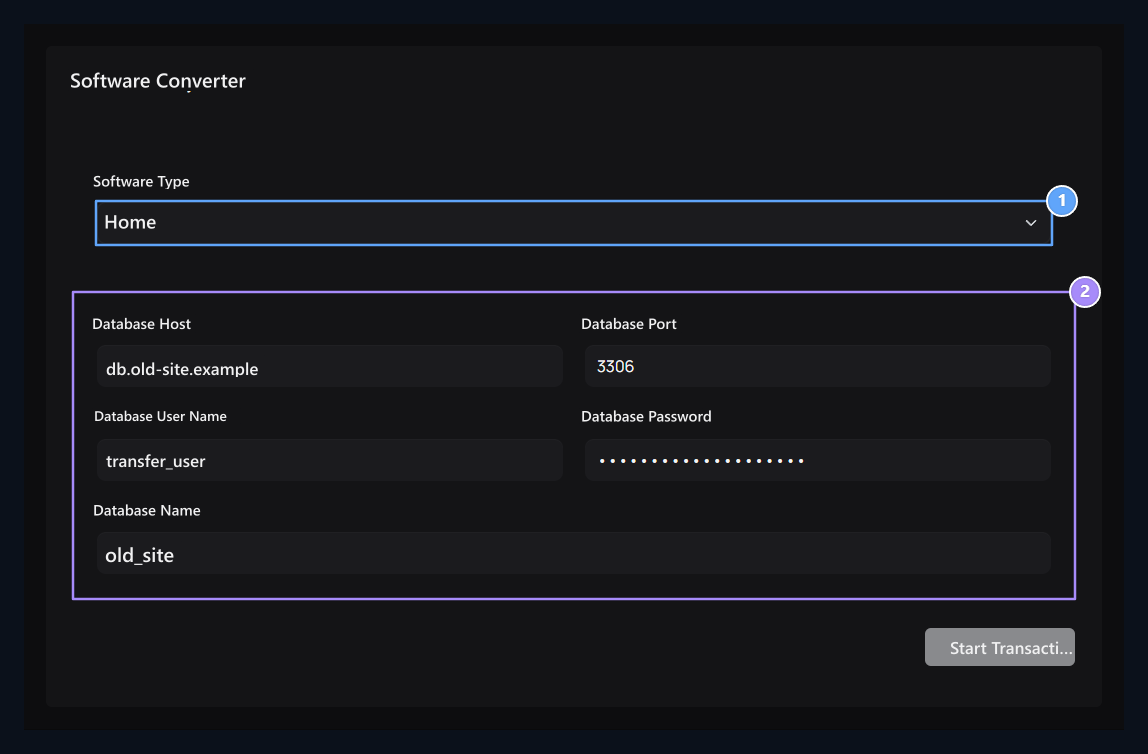
1. Welding software
Select LeaderOS or Minexon; the connection is done on the database of old software.
2. Welding connection
Enter Host, port, user, password and database name.
Enter Minexon source
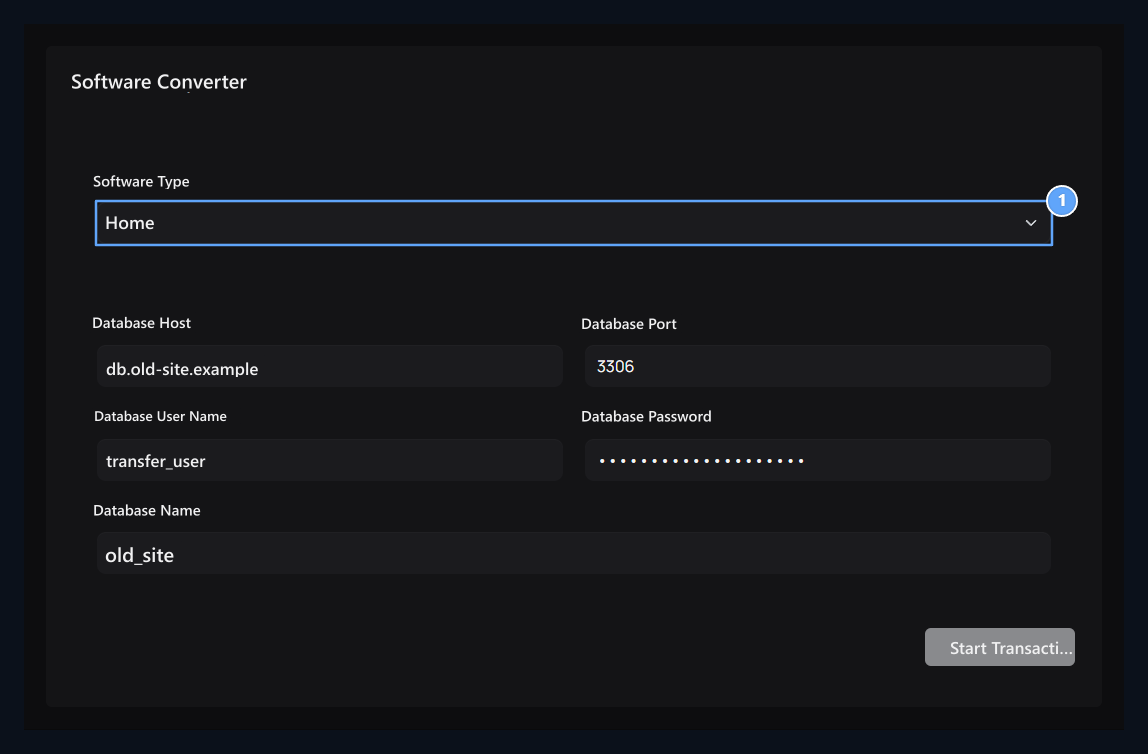
1. Minexon transfer
Fill the same connection areas for Minexon database.
Supported account files and transfer directions
Supported account files and transfer directions
Import AuthMe file
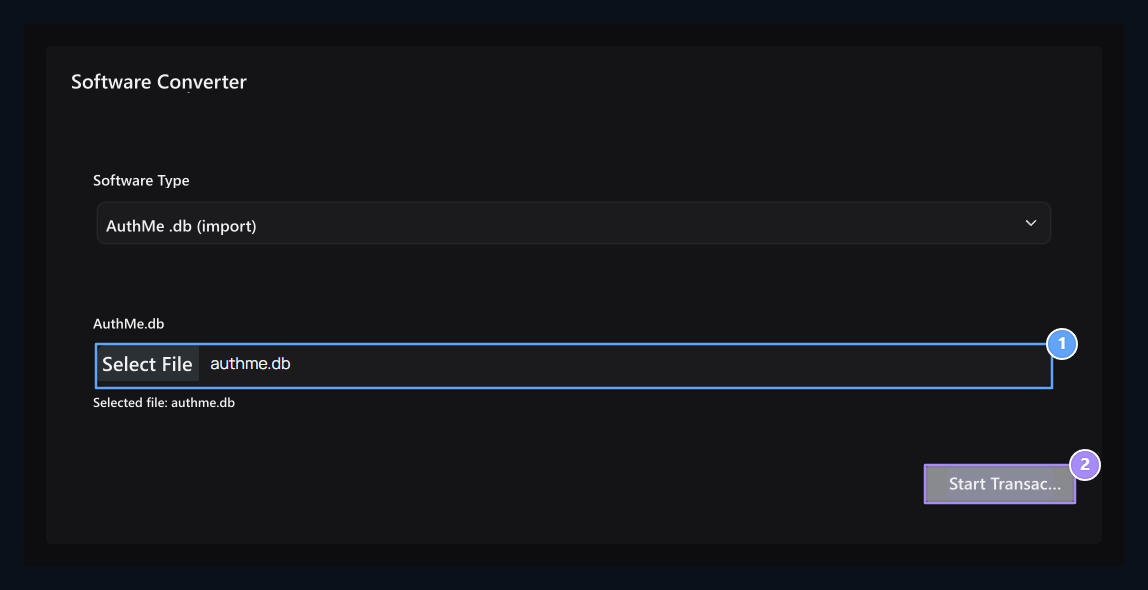
1. AuthMe SQLite file
Select AuthMe .db file available; MySQL domains are close in this mode.
2. In-house transfer start
Transfer in with file selection is separate steps.
Export AuthMe file
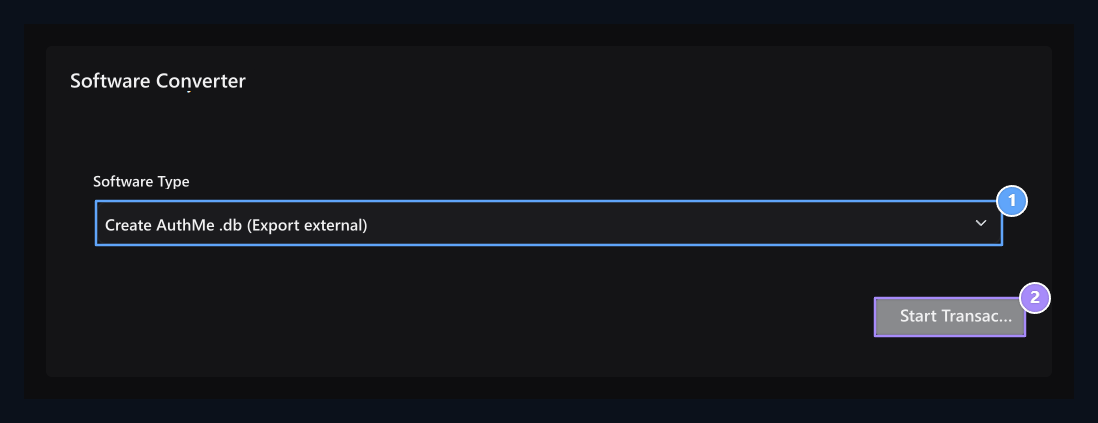
1. Create AuthMe .db
Select the direction of file generation for AuthMe from Zonely.
2. File generation
The download area opens when the process is successful.