
 Home
 User Guide
 Developers
 Payment Gateways
 Integrations & Tools
 Site Usage
 Troubleshooting
If the Tebex Store or Shopier OSB add-on is enabled, credit packages and the settings on this screen are disabled. Manage sales settings through the store integration you use.
Prepare package content
General On the tab Credit Name, credit and Bonus type quantity. Add visual; Details Explain the scope of the package in the field.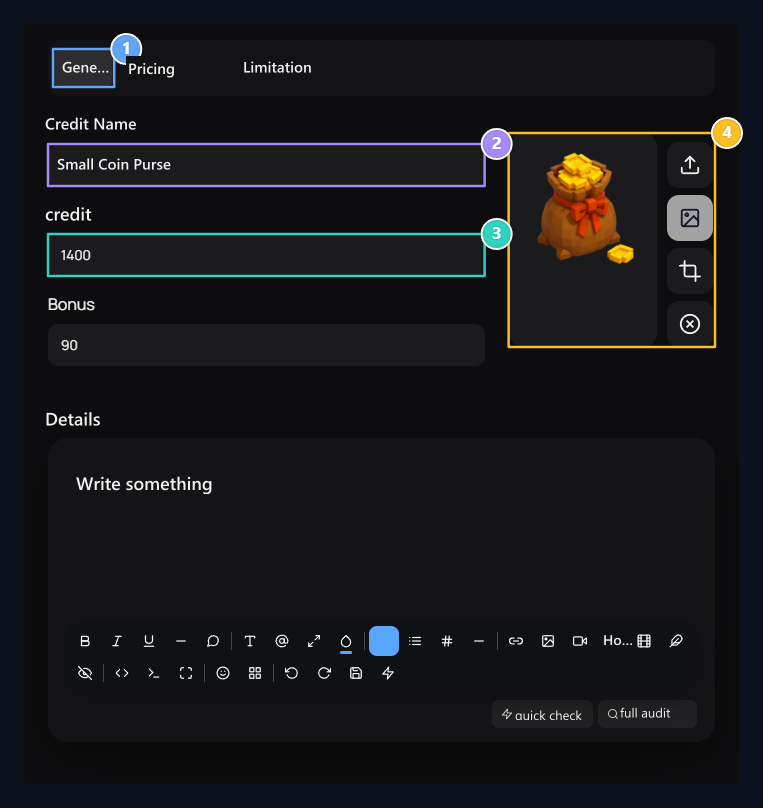
1. General tab
Prepare your package name, credit and bonus amount, visual here.
2. Credit package name
Type the package name that the customer will see.
3. Credit and bonus
Type the credit and bonus quantities of the package separately.
4. Package visual
Select the visual to show on the user card, upload or crop.
Set prices and discounts
Pricing Enter the sales amount from the tab. If you are going to use the discount Discounted Sale Select your choice; fill the finish date at discount price and time discount.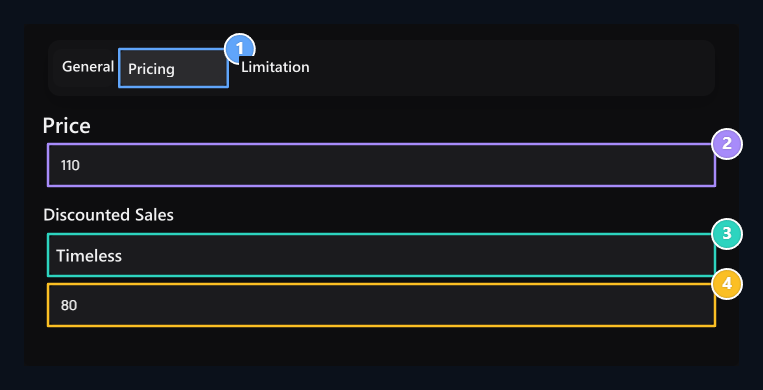
1. Pricing
Set the sales and discount amounts of the package in this tab.
2. Normal price
Type the normal sale price of the package.
3. Discounted sales
Select the type of discount. Enter the expiration date for periodic discounts.
4. Discounted price
Enter the sales amount to be applied on the discount.
Select the stock limit
Limitation On the tab Unlimited or Limited Select. Type the adedi if you are going to use limited stock. Save the package.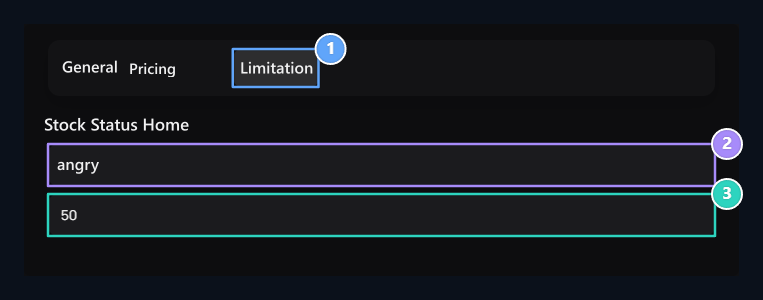
1. Limiting
Manage the stock selection of the credit package from this tab.
2. Stock status
Enter the package score that can be sold if you select limited.
3. Stocked
Type the sale will open.
Check in your theme
Open the credit page. Check the package name, credit and bonus quantity, visual and the last amount the customer will pay. Effective discounts and commission settings may affect the final amount.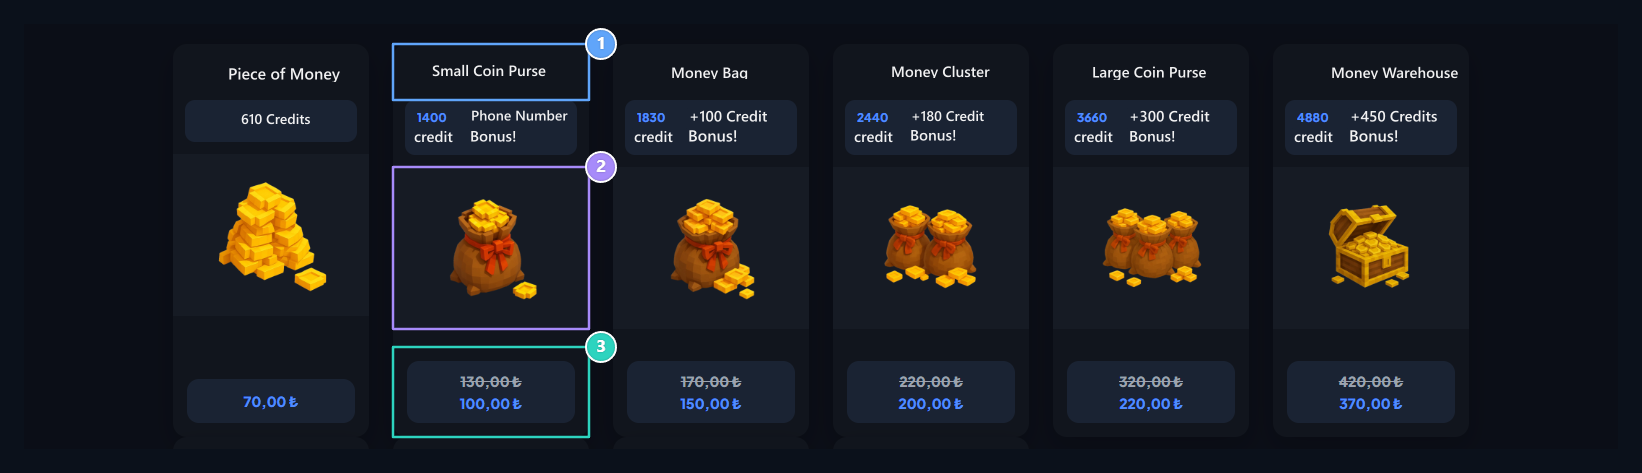
1. Package name and quantity
Check the package name, credit and bonus quantities.
2. Package visual
Select the package from the diagnosis.
3. Sales amount
Check the next sales amount when the discounts and commissions are applied.